How to Stream on Twitch:Personalized Live Broadcast Room
Live streaming on Twitch is very popular and has been well known by many people. In 2020, the global viewing time market share was 67%, far ahead of other major platforms. Among other platforms, YouTube's was 22% and Facebook's was 11%. Although the development of the live streaming market has been very important for other major platforms in recent years, only Twitch has benefited most from the live streaming queue.
Twitch, as a branch of the live broadcast platform JustinTV, has become a very important part of the live broadcast system, which has also brought lasting impetus to the development of the global live broadcast business. You may not know much about the predecessor of Twitch. Twitch started as a gaming platform, and finally slowly developed into an ecosystem that includes all types of content creation. Even if you can't play games and you can eat, then you can go to it to make a food live streaming host. If you want to enter the world of live broadcast, then you should still know: How to Stream on Twitch: Personalized Live Broadcast Room
Plan to stream on Twitch
Before we do anything, we plan first, and the plan itself will make our execution smoother. If we want to broadcast live, then you need to plan accordingly. So how do we do it?
Create a Twitch account
This is the most basic necessary condition for your live broadcast, that is, a regular registered account. If you don't have a corresponding account yet, then you can refer to the tutorial given by Twitch officials to create an account. I won't explain too much here.
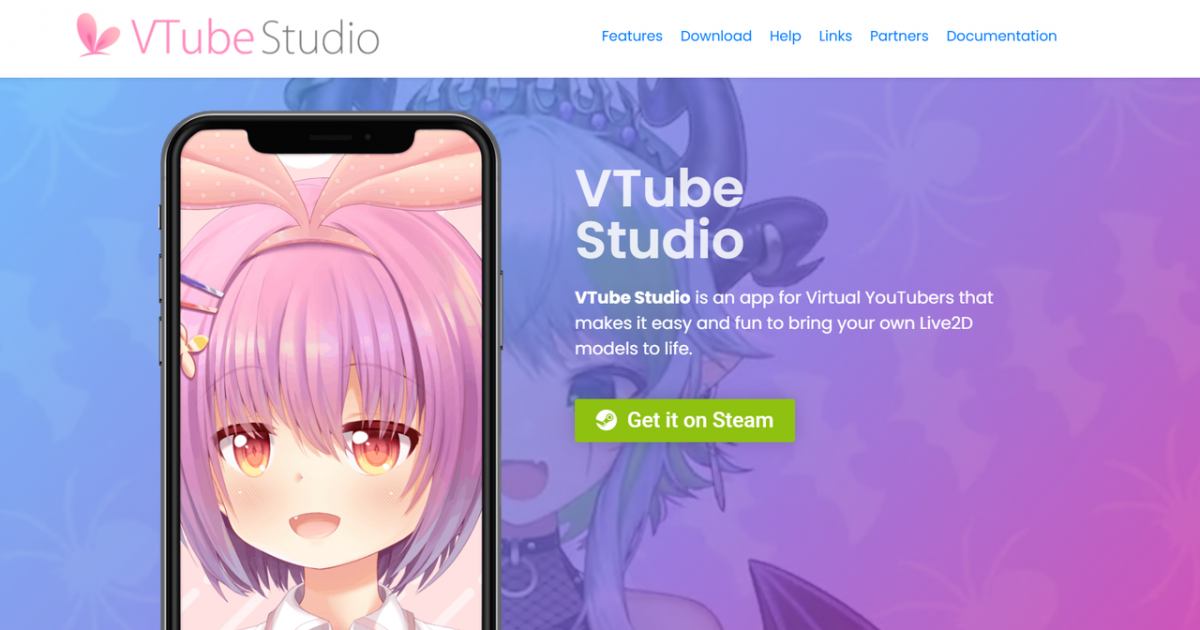
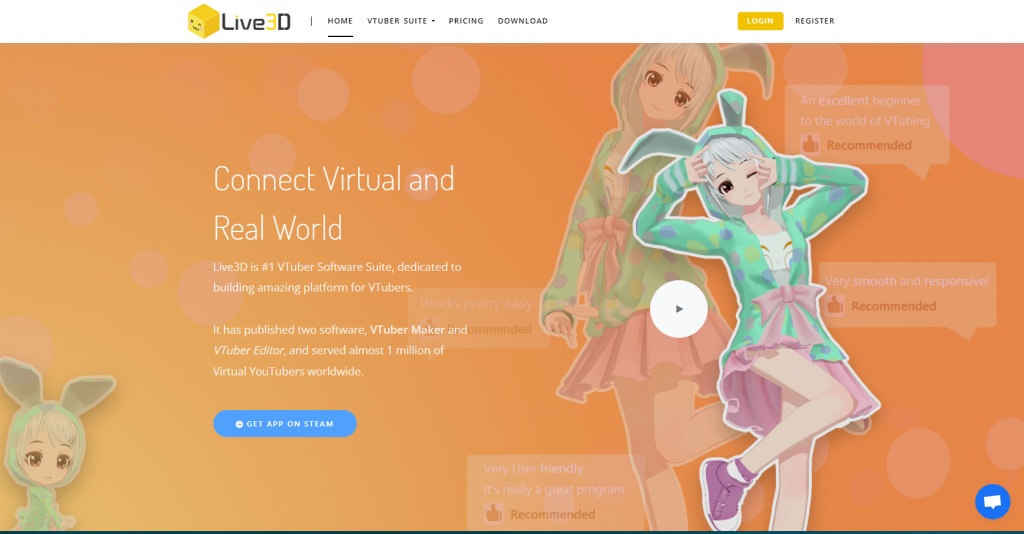
Create a VTuber Maker account
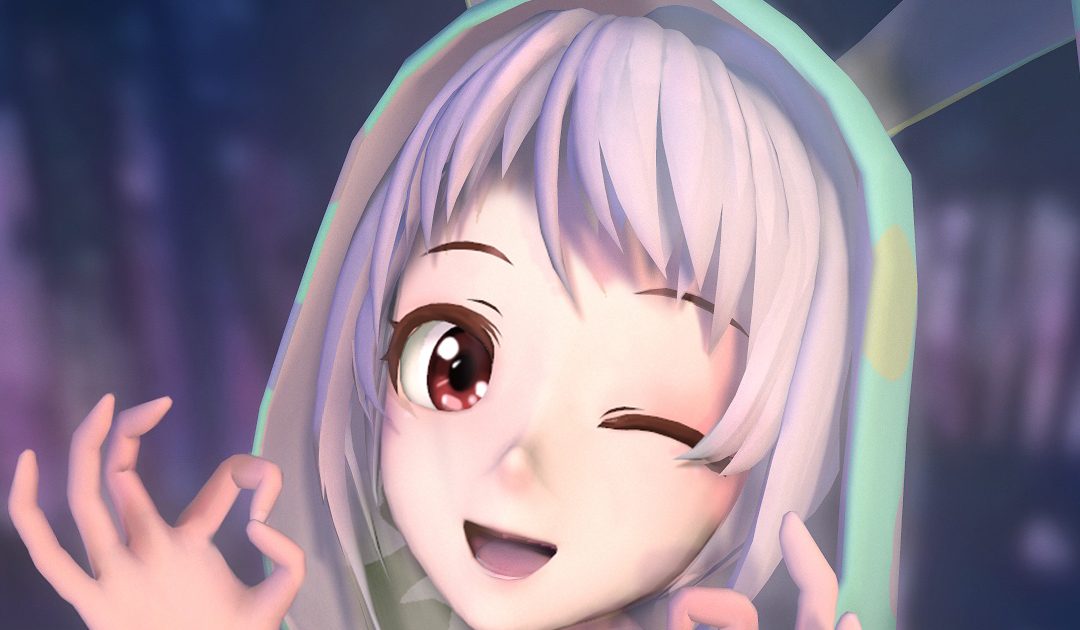
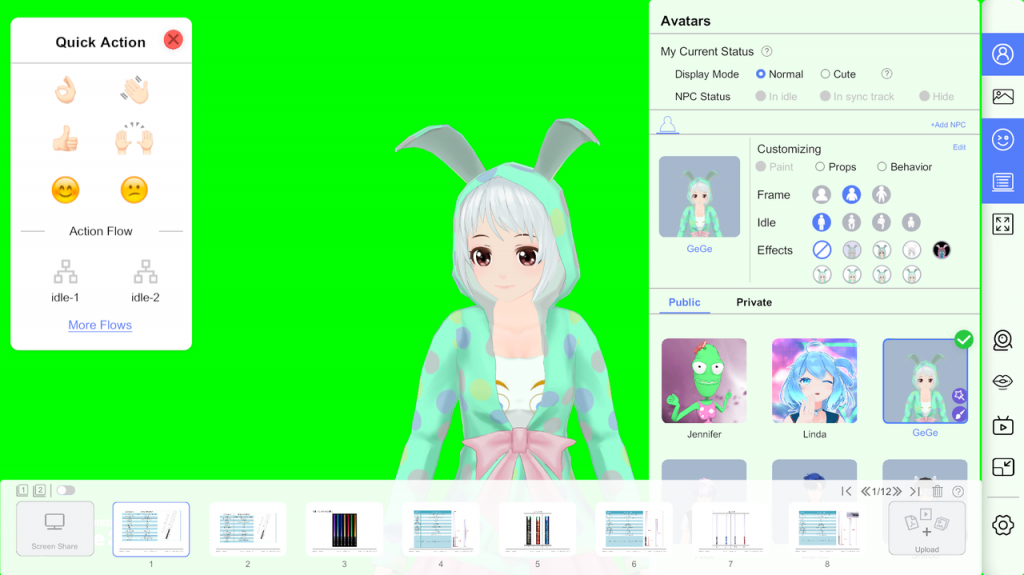
Perhaps you will say: What do I create this account for? What is it? Then please allow me to introduce more about its role here. VTuber Maker is a live broadcast assistance software. When you need to personalize your live broadcast, for example, you want to replace your live broadcast with an avatar, you want to have more decorations to enrich your live broadcast room, etc. These are all personalized live broadcast needs, and VTuber Maker can help you solve these problems.
Creating a VTuber Maker account is very simple. You need to register an account on the official website (www.live3d.io) (please remember your password. If you forget your password, please reset your password. If your email does not receive the activation email, please contact the official online Or ask for official help in the Discord community.
Streaming Software
When you are ready to do Twitch live from a PC desktop, push streaming tools are something we must be familiar with and understand. A common suggestion we get is that beginners should start with software encoders unless they have a hardware encoder available.
Each software encoder has its own advantages and disadvantages. If you are interested in some of the more popular options, they are:
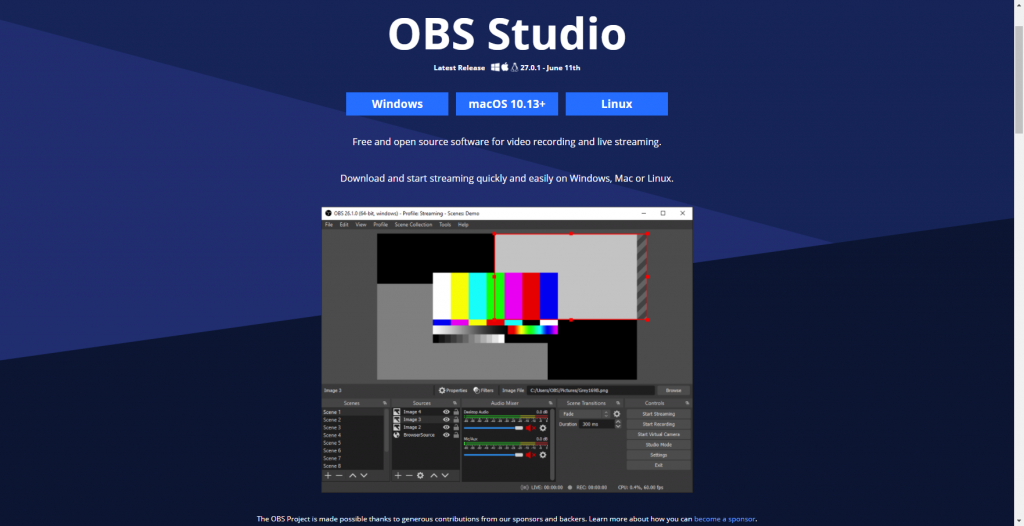
- OBS Studio, which is the first choice for many beginners to create content, is a free and open source streaming software with cross-platform compatibility. You don't need to register, just download and use it directly. As far as I know, most of the software on the market at present actually relies on it for secondary development. If you have never used live broadcast software before, it will take time to learn.
- Streamlabs OBS-Streamlabs version of OBS is a very good software that can help you profit from channels. However, it is only available on Windows and there is no software compatible with other platforms. You can check the difference between OBS Studio and Streamlabs OBS to help you make a decision.
- XSplit-For advertising companies with high live broadcast requirements, they often want to pay for promotion. This is a common choice. Only when you invest in the enterprise version can your live broadcast effect be better.
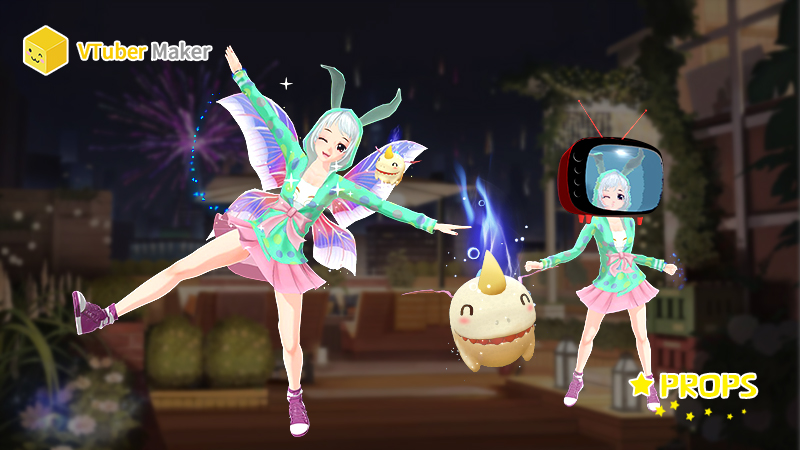
- VTuber Maker, a piece of live content streaming output software, and if you do not want to show your face, the software can use virtual avatars to present in front of fans, and if you need a more personalized live studio, VTuber software is one of your must-have software, currently only this one is temporarily free, the others are charged higher, and the use cost is very high.
The above four software are very good choices, we need to choose according to their own needs, often for beginners, OBS will be more suitable, but it will be difficult to learn, you will spend more time. But it is completely free and open source software. No cost.
Which hardware equipment to prepare
Before we go live, we often need to prepare the hardware we need. Without the equipment, you cannot connect with your fans or let more people find you. This is a must-have basic condition.
However, desktop computers are the most popular streaming media choice. You can use more kinds of hardware with them, and broadcast software allows the use of cool features, such as creating scenes and using overlay layers. In fact, desktop computers are so useful that even people who broadcast from consoles often use consoles to play games, while using PCs to stream game play.
It is recommended to start streaming with an i5 processor, 8 GB of RAM and a stable Internet connection. However, the more content you want, the more you need to invest in basic equipment.
So, what other hardware equipment do we need to prepare?
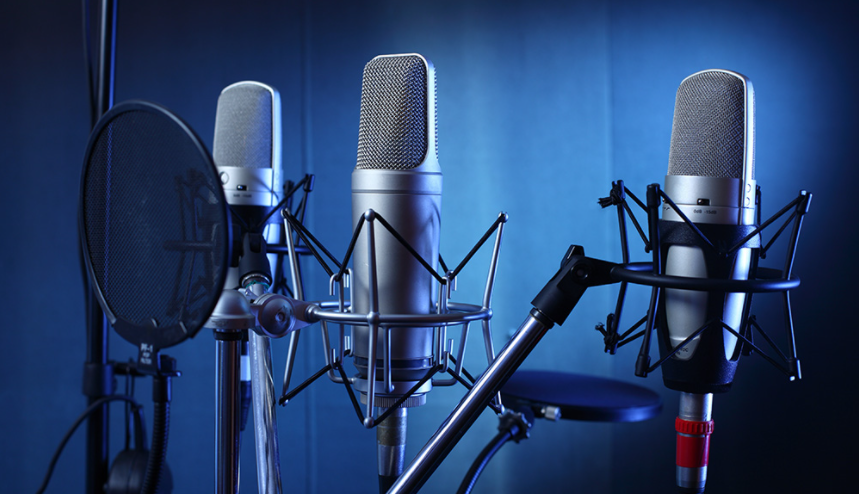
1. Microphones
A device for real-time transmission of VTuber sound, so that your audience can hear your voice, you can play and communicate with your customers.
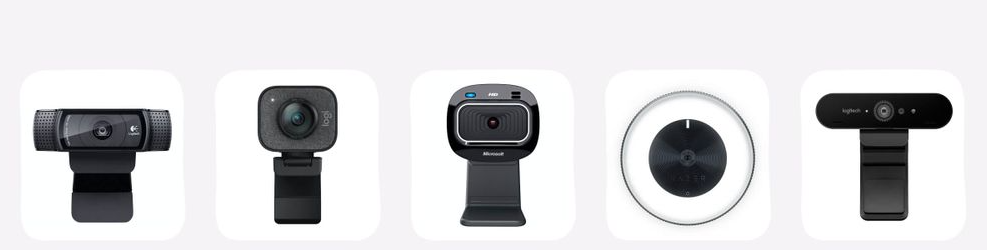
2. Cameras
The camera is suitable for transmitting live images. It can not only show your live real images, but also transmit your facial and body expressions to the virtual avatar through camera capture technology, so that 3d virtual characters can act in your way.
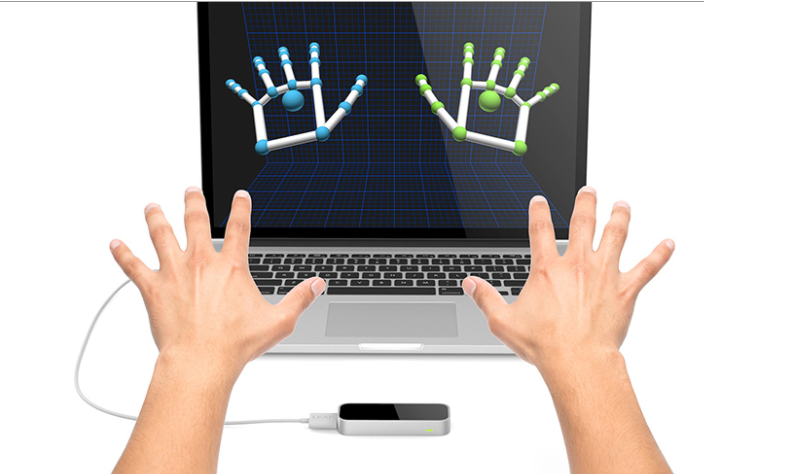
3. Motion capture equipment
Often our whole body or hand movements need to be captured by hardware devices, and then transmitted to the software to make the virtual avatar move, sometimes a camera can do it, but not accurate enough. To accurately capture the movement of body parts, supporting hardware equipment is necessary, just like hand motion capture Leap Motion, through the light sensor can achieve gesture motion capture, real-time transmission to the virtual avatar push stream of the screen.
4. Other ancillary equipment
If you live on camera, why not use some flattering lights that make you more visible?
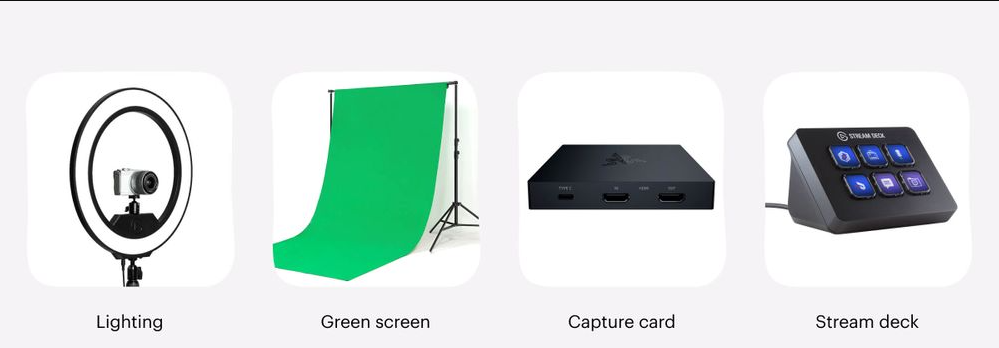
There are plenty of options - LED softlight boxes provide soft lighting, ring lights let you cover with just one light, and inexpensive clip lights strategically placed to eliminate untimely shadows. Whether you want to add or remove a background, a green screen can come in handy.
How to stream on Twitch
To become a content creator, the threshold is higher, especially if you want to be successful, you must create excellent content. Whether it's chatting, playing games, or singing, excellent content can attract users. The following steps can help you start your first live broadcast, which is also applicable to live broadcasts on other platforms.
1. Prepare the content for streaming.
Twitch now has many different types of content. There are direct live games, game commentary, online chat, etc. To be honest, there are already too many people doing these, and it is very difficult for you to stand out.
And people are increasingly demanding to watch content, and more personalized live broadcasts are what people expect. In this regard, we recommend VTuber Maker, which fully meets the personalized live broadcast and makes your live studio full of vitality.
Even you can use it directly for online meetings and online lectures.
2. Check and set up your equipment.
Before making a formal push stream, it is very important to check and set up your equipment, that is, please make sure that all the hardware you need is connected, and connect the webcam and microphone to the computer.
If you have a motion capture device, please keep the normal connection so that it can connect with the software, for example, face capture, you need the camera to work properly in VTuber Maker.
Test everything you need to use software and hardware before you do the streaming. Set the webcam at the right angle and check the audio level of the microphone. If you are using lights, now is a good time to soundproof or adjust the lighting of the room you are playing.
3. Install the software and connect it to Twitch.
Any of the streaming software we mentioned earlier in this article is suitable for Twitch. However, for the purposes of this guide, we will use OBS Studio for all examples and instructions.
First you need to install the software. After the installation is completed, OBS Studio will ask whether to run the automatic configuration wizard. Consider choosing manual settings. This will familiarize you with some important aspects of streaming media.
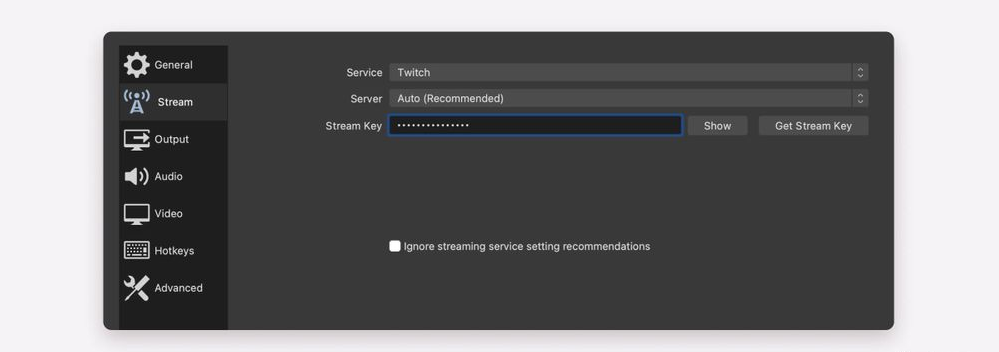
For beginners, go to File > Settings > Stream in OBS Studio. Select "Twitch" as your service and connect your Twitch account to OBS Studio or use the Stream Key to connect Twitch.
Next, you just need, to prepare the login information for your Twitch account, you should go to Twitch, go to Settings > Channels and Videos, and then copy the main stream key you see there. Paste it into the OBS, and you're done.
4. Add audio/video sources and visual effects.
Everything you want to broadcast in your stream needs to be added as a source in OBS. Your microphone is a source, as is the game you want to play, as is anything on your webcam and desktop. If you want to use it in your stream, you have to add it as a source.
The advantage of OBS Studio is that most of the time it recognizes your audio source. If not, you can go to File > Settings > Audio and find the device you want to use for audio. Usually, this means having a device for desktop sound (the sound you play on your computer) and a device for sound from a microphone (your voice).
As far as video sources are concerned, you will see the "Source" field in the main panel of OBS Studio. Click the "+" button and you will open a menu where you can add various sources, including games, desktops, web pages, images and text files. But remember that sources appear on the screen in the same way they appear in the "Source" box, superimposed on each other. Moving a source up in the list will make it visible above other sources.
Another way is to stream the picture through the virtual camera, and directly transmit the content picture to the front end for presentation.
5. High-quality streaming media settings.
The Twitch streaming setup you need will depend on the available upload bandwidth, the capabilities of the encoder, and the type of content you want to broadcast. Higher bandwidth, a powerful processor, and the ability to dedicate it to coding all give you a higher quality setup.
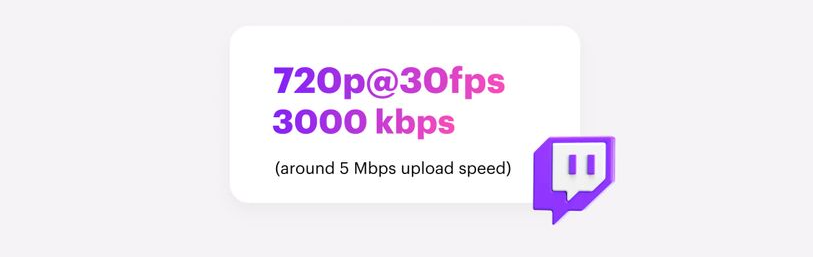
If you're looking, Twitch's own guide would be a good starting point. Twitch suggests that for basic 720p@30fps streams, you need a bitrate of about 3000 kbps.
Complete these five steps to stream live on Twitch using OBS Studio.
Final Thought
In fact, streaming live on Twitch is very simple. If you want to complete high-quality streaming live, it will be more troublesome, but if you are just in your own interest, it is very simple to complete your first live broadcast. Prepare a content software (like VTuber Maker), download OBS, register a Twitch account, and you can start live broadcast. If it is a PC notebook, a microphone and camera are basically unnecessary.
The difficulty of streaming is what kind of content to output, and the other is persistence. If you can't insist on exporting content, then few people will see it again. The era of live streaming for everyone has come, so act quickly!